We’ve been asked so many times for a simple sewing machine cover to feature on the blog, at last here it is! The lovely Kelly designed this simple machine cover to show off one of her favourite prints from the Dashwood Studios collection Nature Trail.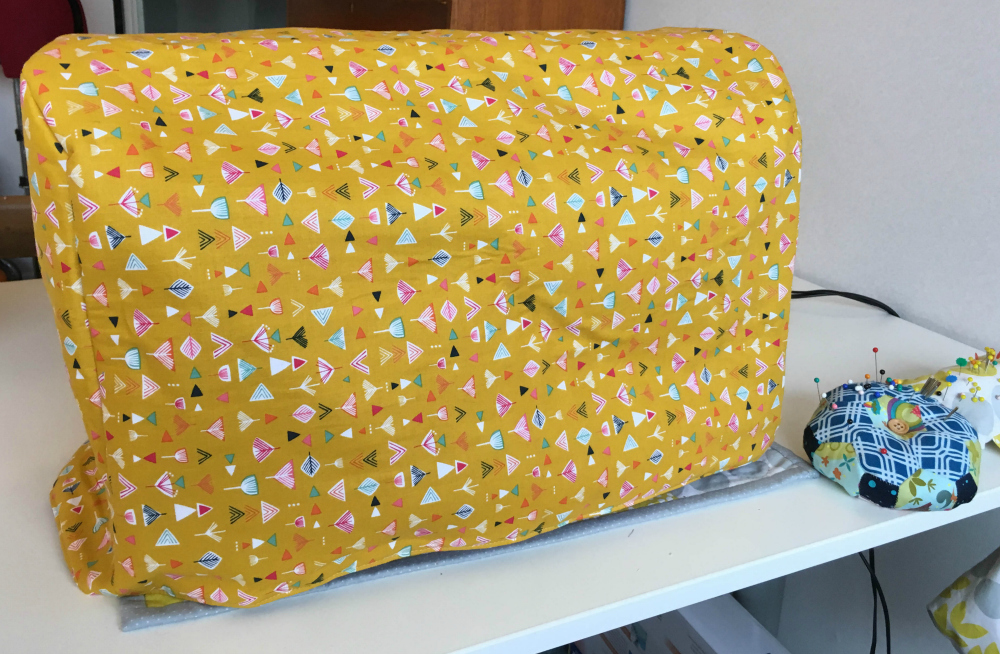 This sewing machine cover will fit a machine up to 20″ wide, 9′ deep and 13″ high.
Cutting list
(2) 10” x 14” side panels – Main Fabric*, Interfacing, Lining Fabric
(1) 38” x 21” main body - Main Fabric*, Interfacing, Lining Fabric
*Note: This project uses non directional fabric due to the way it is constructed.
Instructions
Iron the interfacing to the back of the main fabric pieces following the manufacturers instructions.
Take the two side panels and use a side plate or something similar to draw around to curve the top two corners. Trim along the line you marked. Then use this as a template to do the same for your lining fabrics.
*Take your first side panel (main fabric and interfacing) and fold in half lengthways to find the middle of the top edge. Mark with a pin.
Repeat for the main body piece along the longest edge. Mark the middle point with a pin.
Place the two pieces together matching up the pins. Then pin right around and down both sides – see picture. You are likely to have some overhang – this is because we rounded the corners – we will trim it later.
Sew a 1/2” seam around pinned edges.
Repeat for other side.
Using a rotary cutter and ruler trim off any excess at the bottom.
Clip the seam allowance of the curves.
Repeat steps from * for the lining pieces – but leave a 3” gap on one of the lining side seams for turning later.
Turn the lining right sides out and slide it into the main cover with right sides touching. Match the 4 corner seams and pin. Then pin around the whole edge.
Sew a 1/2” seam all the way around the bottom of the sewing machine cover, taking care at the bulky corner points.
Turn cover right side out through the hole in the lining.
Press the bottom seam so that the lining lays neatly inside and then sew the gap closed.
Finally top stitch around the bottom of the sewing machine cover to keep it all neat and tidy.
Pop it over the top of your machine and admire your handiwork.